Einfach in den Text einfügen.
© Copyright 2012 - <script>document.write(new Date().getFullYear());</script>Einfach in den Text einfügen.
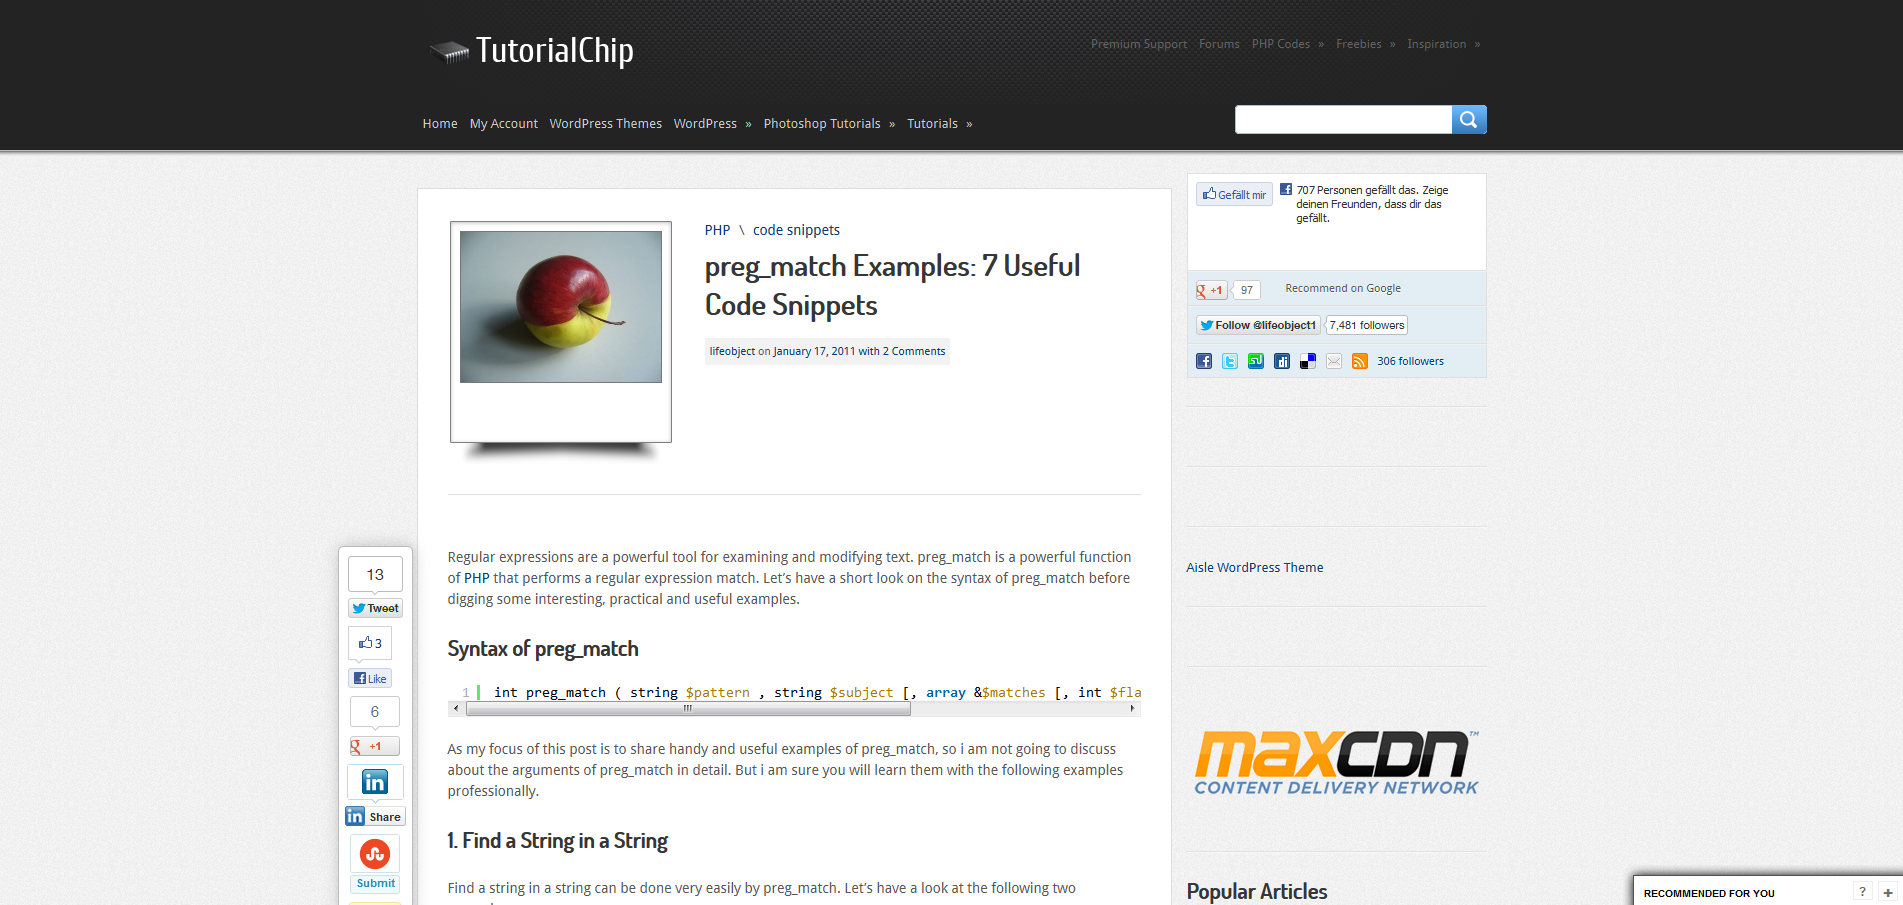
© Copyright 2012 - <script>document.write(new Date().getFullYear());</script>Update 2012-06-18: Eigentlich ist die Lösung, Pierre-Henri sei Dank, über preg_match zu erreichen.
Screencast #91: The WordPress Loop
Zwei Loops auf der Startseite: WordPress Custom Loops
Adding PHP conditionals inside The Loop
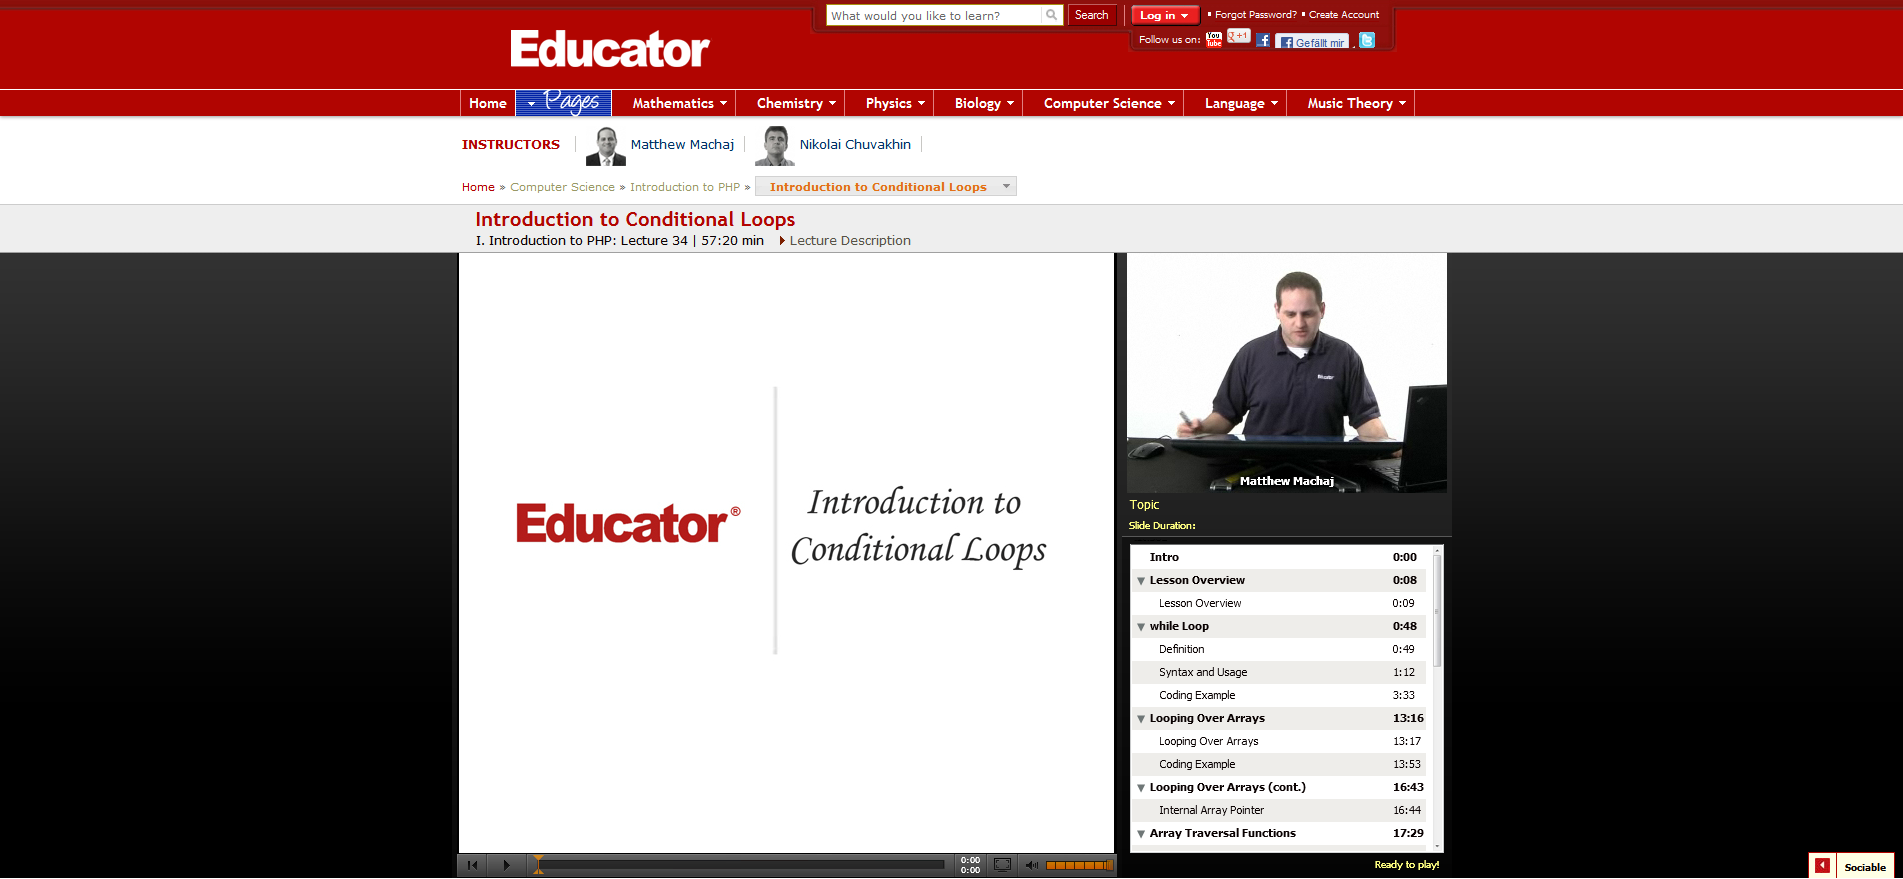
PHP – While Loops (Conditional Loops)
PHP – Nested Conditional Loops
Dann paar Links:
Die Namen der Reiter des Plugins ändert man in den Zeilen 26-283 der Plugin-Datei thepath-tabbed-widget.php.
Die Zahl der im ersten Reiten maximal angezeigten „Recent Posts“ stellt man in Zeile 33 der Plugin-Datei thepath-tabbed-widget.php ein.
„Featured“, der dritte Reiter, wird „gefüttert“ vom Output des Plugins YAFPP (Yet Another Featured Posts Plugin). Dieses Plugin hat angenehmerweise von Haus aus eine umfassende Konfigurationsseite, zu finden im „Einstellungen“-Menü.
# It always works the same when you are adding and moving stuff. you add FUNCTIONS to HOOKS. think of hooks like parking spots. some are empty, some have cars on them. you can move the cars around, etc.
function function_you_want_to_add(){
echo "I heart bacon!";
}
add_action('destination_hook','function_you_want_to_add',$priority# );
Removing stuff works a bit differently:
function remove_stuff(){
remove_action('hook_location','function_you_want_to_remove',$priority# );
}
add_action('init','remove_stuff');
init is just a default wordpress hook. in fact, it is the FIRST one that runs when WP starts whirring.
it took me a long time to understand filters. think of filters like this… they are still parked in the same parking spot, but something about the car is different. filters change something w/o moving it.
you can filter anything that says
apply_filters('this_is_the_filter_name', $somevariable);
filters take something IN and spit something OUT. send a blue car into the function and it might come out red.
function sample_filter_function($input_from_original){
$send_output_to_filter = $input_from_original . " Add some bacon!";
return $send_output_to_filter;
} add_filter('this_is_the_filter_name','sample_filter_function',$priority#);
Whatever content WAS going to be printed will now have “ Add some bacon!“ tacked on to the end, b/c well.. who couldn’t use more bacon?
Lastly, the $priority# stands for priority number. it is like a traffic cop in the parking lot. or maybe just an orange cone. if more than 1 function wants to be on a particular hook the priority decides which goes first same as if 2 cars want to park in the same spot (sorry, had to beat this metaphor to death). the higher the number the later it gets run. this can be important, but is not always necessary.
Props to @kwight for starting the parking metaphor. Apparently my ball-pit metaphor didn’t make any sense b/c no one knew what a ball-pit was.
Dans la logique des thèmes WordPress, vous serez vous amené à visiter le code source de votre fichier single.php. Mais qui est-il ? Que fait-il ? A quoi sert-il ? Découverte de ce fichier single.php
Répondons immédiatement à la question « A quoi sert ce single.php ? » Il affiche vos articles sur votre site. Rien de moins que cela. Ce qui le rend quelque peu important. Si vous faites n’importe quoi, n’importe comment dans le code de ce fichier, ce sont l’intégralité de vos articles qui vont partir en sucette. Sensible n’est-ce pas ?
Un base de données et un fichier php on cela de merveilleux. Avec un seul fichier, vous allez pouvoir afficher des milliers d’articles. Le revers de la médaille, comme indiqué précédemment,c’est qu’une seule coquille dans ce fichier, et c’est tout votre contenu qui est vrillé.
En soit, le fichier single n’est pas un monstre de complication. Il serait même assez « rudimentaire » dans sa version de base. En effet, pour afficher votre article, il suffit « simplement » de faire un appel à la boucle WordPress, et le tour est joué.
La boucle va récupérer ce qu’elle doit, là où elle le doit et renvoyer l’article qui va bien à votre visiteur.
Là où cela devient un tantinet plus compliqué pour le novice, c’est la mise en forme de la page. Comme toujours, si le CSS et l’HTML sont pour vous aussi clair que du chinois, autant vous dire que vous allez passer un mauvais moment. D’un autre côté, ce n’est pas en prenant la fuite que vous allez apprendre…
Les marqueurs utiles
Pour votre single.php, vous allez devoir faire appel à certains marqueurs WordPress, regardons les quels
the_title : affiche le titre de l’article
the_excerpt : affiche l’extrait de l’article
the_content : l’article lui même
Vous devrez également utiliser deux fonctions obligatoires, qui vont ouvrir et fermer votre fichier.
get_header : appel le header de wordpress et ses fonctions liées
get_footer : idem que précédemment, mais pour le pied de page
En résumé, j’ouvre mon fichier avec la fonction get_header, puis, je place mes marqueurs, enfin, je ferme mon fichier avec get_footer.
En suivant cela, votre page affichera l’en-tête du site, le titre de l’article, son extrait, l’article, et enfin le pied de page.
Il vous « restera » à vous occuper de la mise en page.
Un exemple de fichier single commenté:
// Default post editor text //
add_filter( 'default_content', 'diww_default_post_content' );
function diww_default_post_content( $content ) {
	$content = '
// Any stuff you would put into your HTML
';
	return $content;
}
Bei Basti mal alle Fehler anzeigen lassen ist, hust, furchbar (viel).
<?php

// Error Reporting komplett abschalten
error_reporting(0);

// Nur einfache Fehler melden
error_reporting(E_ERROR | E_WARNING | E_PARSE);

// E_NOTICE ist sinnvoll um uninitialisierte oder
// falsch geschriebene Variablen zu entdecken
error_reporting(E_ERROR | E_WARNING | E_PARSE | E_NOTICE);

// Melde alle Fehler außer E_NOTICE
// Dies ist der Vorgabewert in php.ini
error_reporting(E_ALL ^ E_NOTICE);

// Melde alle PHP Fehler (siehe Changelog)
error_reporting(E_ALL);

// Melde alle PHP Fehler
error_reporting(-1);

// Dies entspricht error_reporting(E_ALL);
ini_set('error_reporting', E_ALL);

?>
# themeshaper.com/forums/topic/thematic-not-installi… (nochmal das Basti-Problem)
(Quelle: computeraxe.com/paths-building-wordpress-themes-pl…) When tinkering with the code that runs WordPress it’s very important to get the correct path to a file. Of course it is or else the files can’t be found and your new functionality won’t work.
According to the Codex
In Version 2.6, users were given the ability to move their /wp-content/ directory to anywhere they want, and many users already keep all WordPress files (like /wp-admin/ and /wp-includes/) in an unusual place.
In case you’ve moved the files for your WP installation, you probably have a good handle on paths and how to traverse them. For those who don’t, it can be a hair-pulling experience to find the right path. Once the right path is found, work can continue.
To help avoid those DUH! moments, here are some functions and constants that WordPress has defined regarding paths. Once you’re familiar with these functions, writing useful and working code should become easier. Optional parameters may be of use in modifying the output for several of the following templates, including $path, $file or $scheme.
There are a few more functions for multisite installations and backwards capability specified in the Codex.
Some PHP functions worth noting –
Use the functions or constants indicated to build your paths instead of hard-coding them. You’ll save yourself a LOT of trouble when it comes time to move your WordPress installation to a new server or directory.
Folgendes in die functions.php des Themes schreiben:
<?php
//Das hier sagt "Bau irgendwas in den Head ein"
add_action('wp_head', 'irgendwas');
//Und hier wird irgendwas definiert
function irgendwas() { ?>
//irgendwas hier einsetzen
<?php }
?>
Irgendwas ist natürlich durch irgendwas zu ersetzen.
<?php
// Custom-Login nach Frank Bueltge http://bueltge.de/wordpress-27-login-design-anpassen/846/
// modifiziert nach http://themeshaper.com/forums/topic/bloginfotemplate_directory-returns-the-thematic-directory
function gr_custom_login() {
echo '<link rel="stylesheet" type="text/css" href="' . 'http://gr-01.de/ci/wp/gr-login.css" />';
}
add_action('login_head', 'gr_custom_login');
?>
Die functions.php des aktiven Themes der WordPress-Installation öffnen, in deren Head der Google-Analaytics-Code erscheinen soll. Wenn die Datei noch keine Befehle enthält sieht sie so aus:
[php]<?
?>[/php]
Jede PHP-Datei fängt mit „<?“ an und hört mit „?>“ auf. Davor und danach darf nichts, auch kein Leerzeichen stehen. Dazwischen alles. In unserem Fall bauen wir Folgendes ein:
<?

//Das hier sagt "Bau den Google-Analytics-Code in den Head ein"
add_action('wp_head', 'googleanalytics');
//Und das ist der Google-Analytics-Code
function googleanalytics() { ?>
<script type="text/javascript">
var _gaq = _gaq || [];
_gaq.push(['_setAccount', 'UA-1234567-8']);
_gaq.push(['_trackPageview']);
(function() {
var ga = document.createElement('script'); ga.type = 'text/javascript'; ga.async = true;
ga.src = ('https:' == document.location.protocol ? 'https://ssl' : 'http://www') + '.google-analytics.com/ga.js';
var s = document.getElementsByTagName('script')[0]; s.parentNode.insertBefore(ga, s);
})();
</script>
<?php }

?>
Den Platzhalter UA-1234567-8 durch die gültige Web-Property-ID des entsprechenden Google-Analytics-Projekts ersetzen, functions.php speichern und hochladen, fertig.
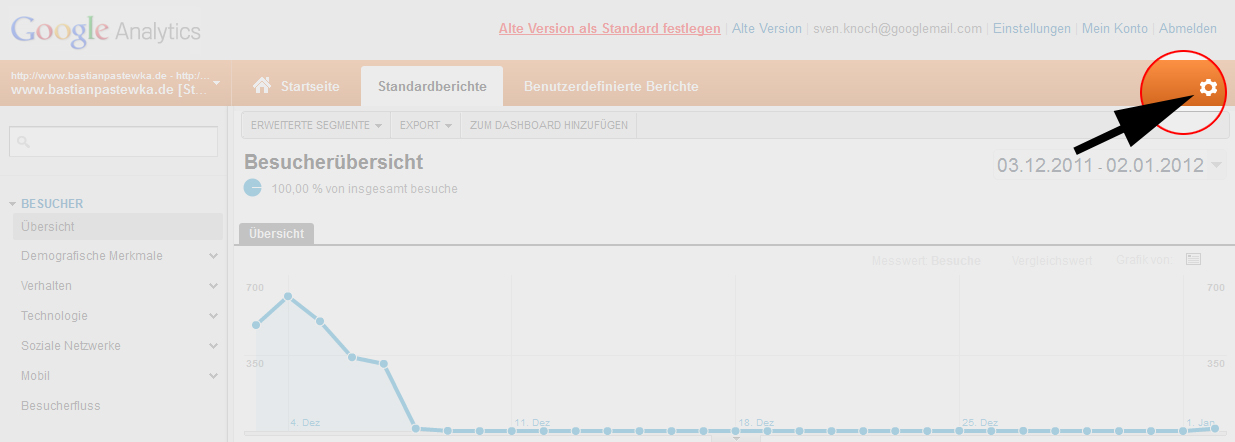
Web-Property-ID unbekannt? In dem Fall Google-Analytics-Konto aufrufen, dort klicken:

In der nun geladenen Seite steht die Web-Property-ID recht weit oben.