The majority of test cards that I found were low resolution, lossy, and had poor colour fidelity. This attempts to combat these problems by providing a precise resolution, lossless, perfect colour testcard.
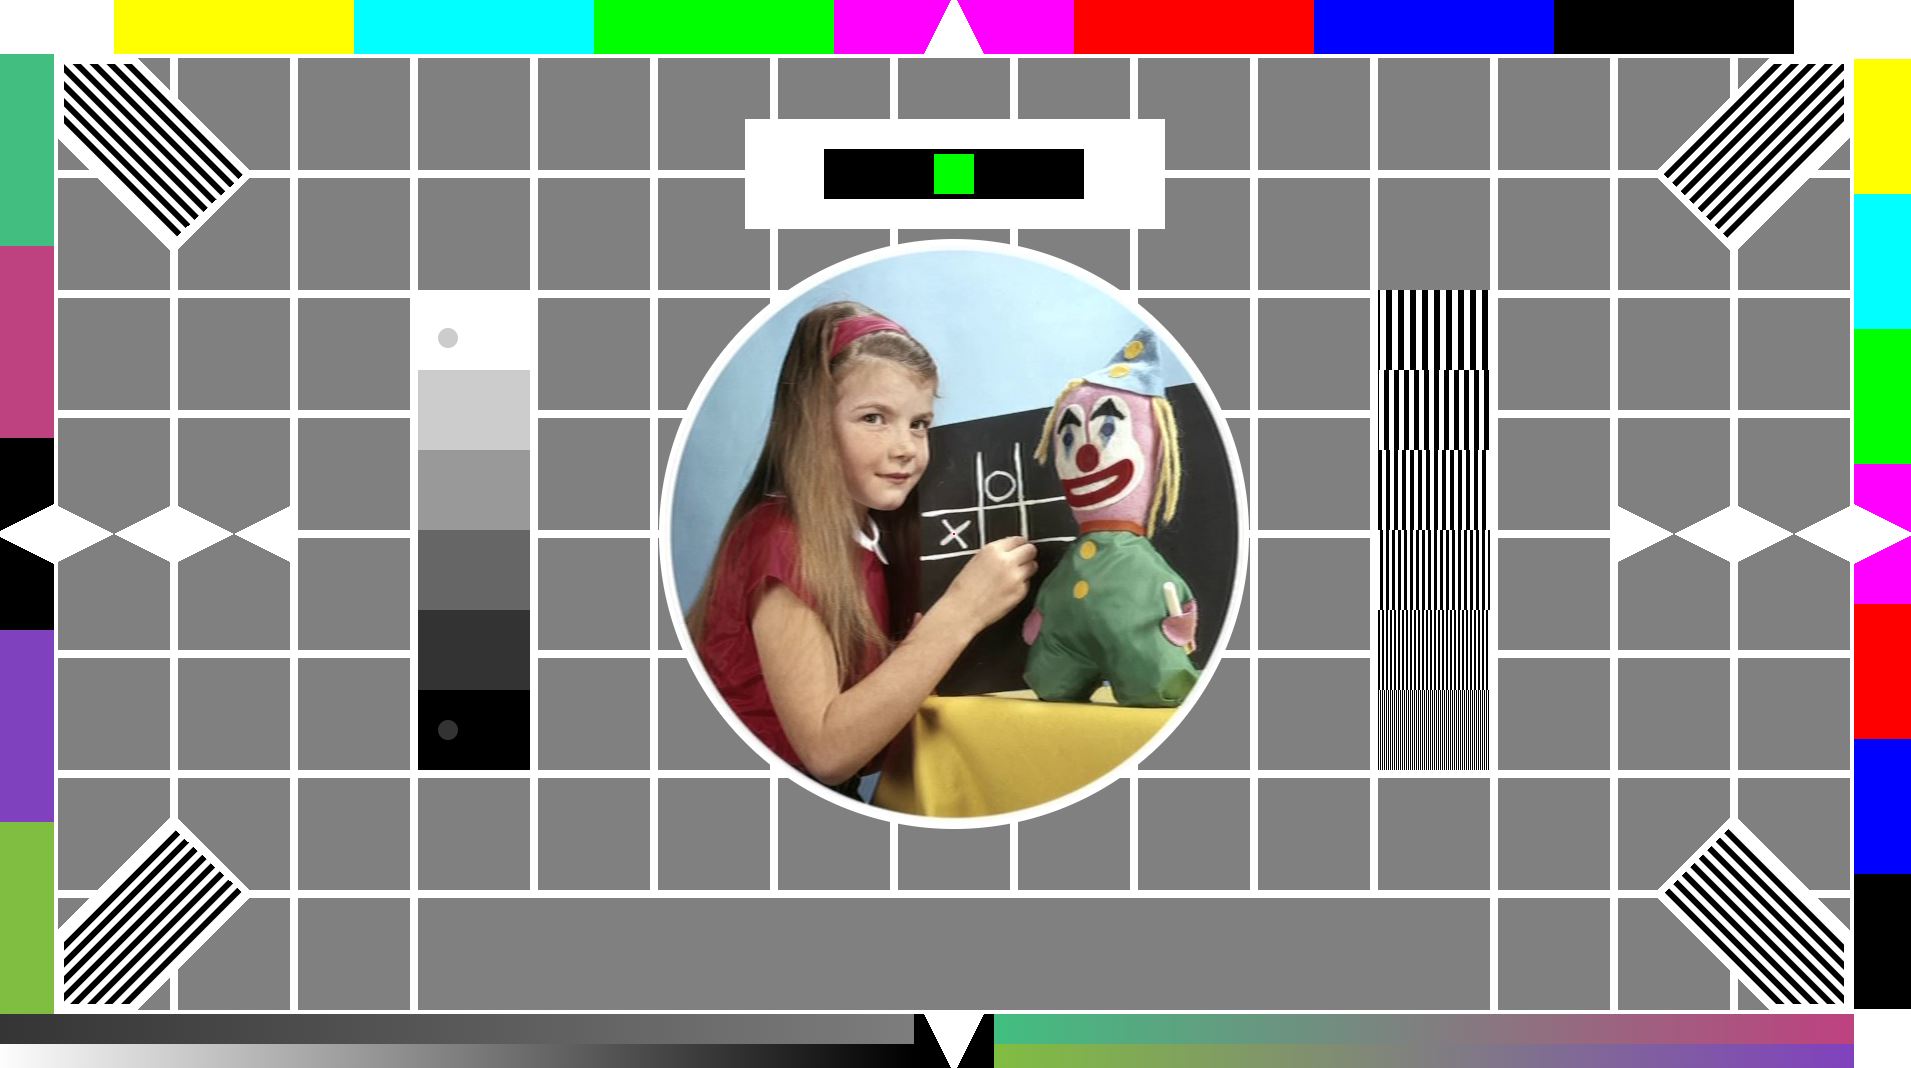
The majority of test cards that I found were low resolution, lossy, and had poor colour fidelity. This attempts to combat these problems by providing a precise resolution, lossless, perfect colour testcard.
Hi Jake. Actually, you can disable Windows Ink and force Photoshop to use the old WinTab driver to enable pressure sensitivity in a Wacom tablet.Just follow this instructions from the Adobe forum (forums.adobe.com/thread/1501276):1) Disable Windows Ink on the Wacom preferences app;2) Create a text file in a plain text editor such as Notepad;3) Type in the following lines:# Use WinTabUseSystemStylus 04) Save the file as a plain text file named PSUserConfig.txt, and save it into the Photoshop settings folder: C:Users[User Name]AppDataRoamingAdobeAdobe Photoshop CC 2018Adobe Photoshop CC 2018 Settings5) Restart Photoshop and test the brush, it should now recognise the pressure without Windows Ink enabled. That will help with the Lasso problem too.
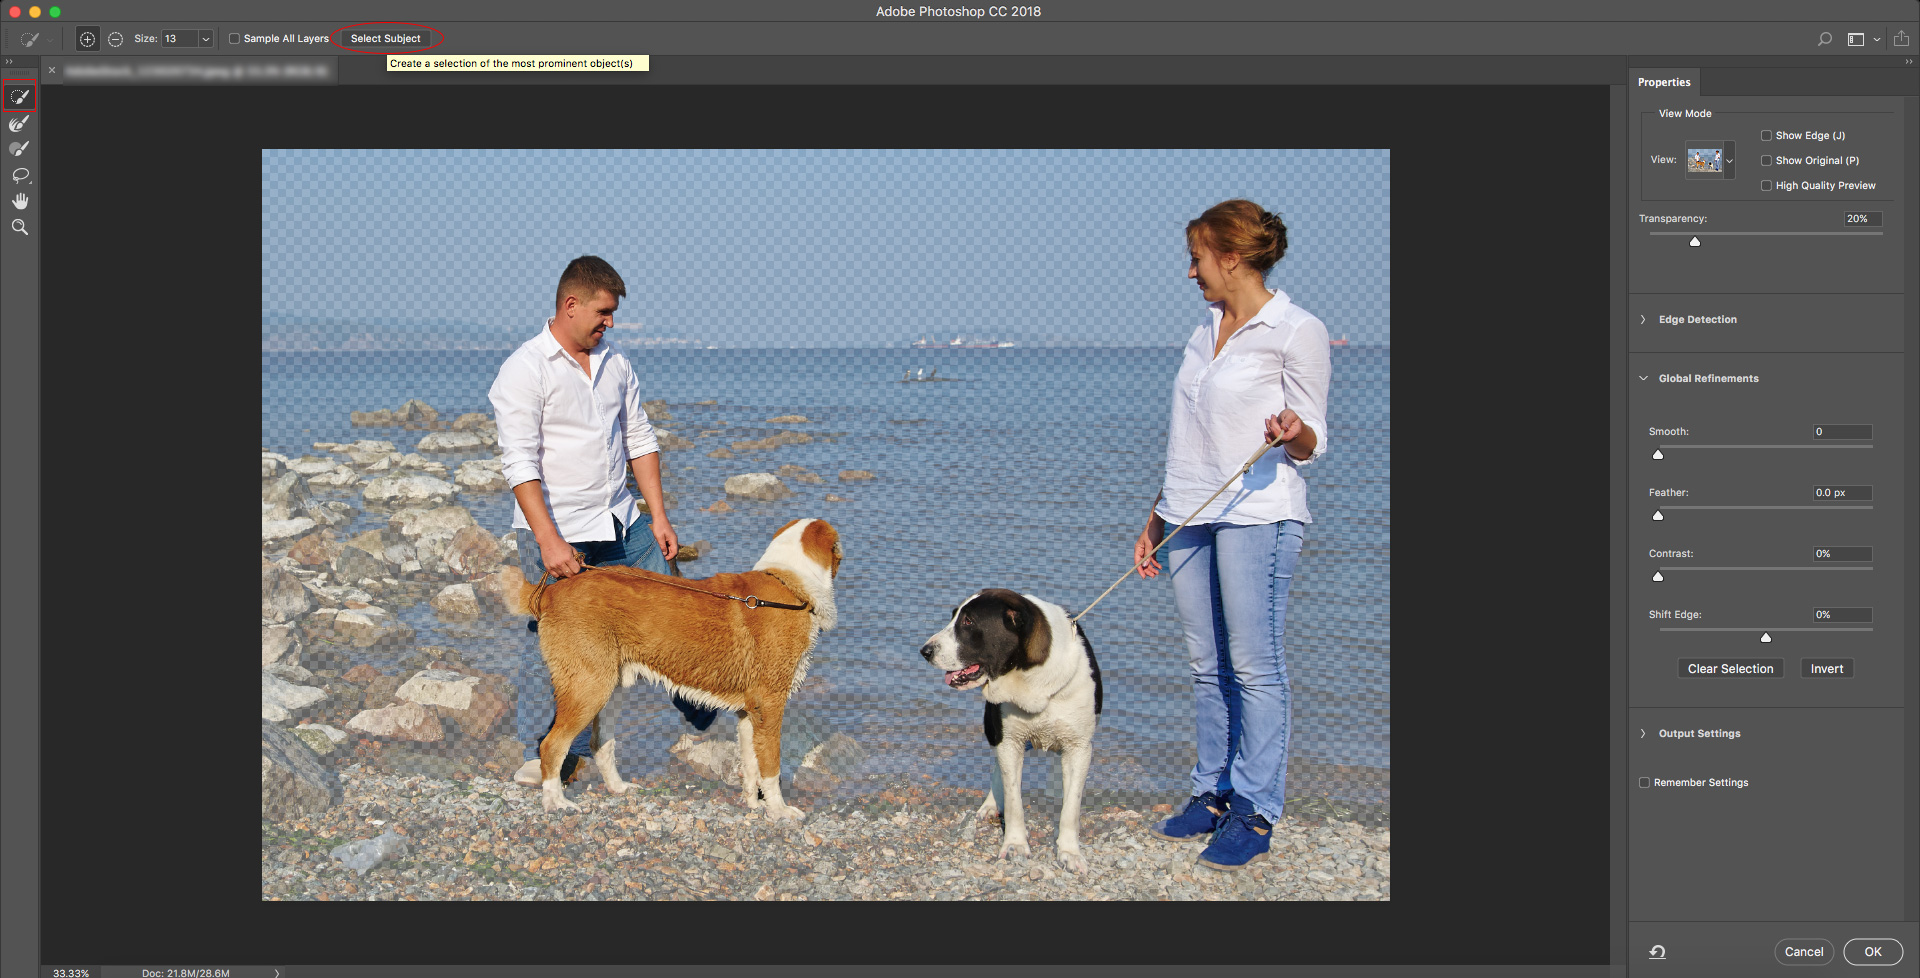
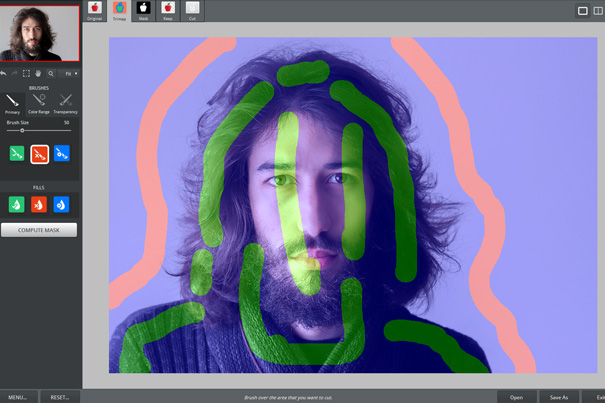
Creating accurate selections and masks in Photoshop is now quicker and easier than ever before. A dedicated new workspace helps you make precise selections and masks. Use tools like the Refine Edge Brush to cleanly separate foreground and background elements and do much more.
Quelle: Learn how to use the dedicated Select And Mask workspace in Photoshop CC.
When I recently wrote about the program I showed the official way to work with masks, but there are more ways to remove the background of one image and that’s what this article aims to explain. I used the same image from the previous article, so you can compare them, but the effect applies to any other image you might need to work. It should be noted, though, that the technique shown here works best with images presenting a solid background that makes for an easy separation.
Quelle: Topaz ReMask 5: an easy way to mask hair by Jose Antunes – ProVideo Coalition
Master the graphic design and production skills required of today’s video editors and motion graphic professionals with this comprehensive guide to the video tools in Adobe Photoshop CS3. Every page is filled with techniques to help the video professional make graphics for use in television, video, the Internet, and DVD. Lively discourse, full-color presentations, and hands-on tutorials demonstrate everything you need to know about how to combine still and moving images. Fundamental concepts such as transparency, pixel aspect ratio, and alpha channels are made precisely clear, and advanced techniques show how to use Photoshop as a character generator, color corrector, and animation tool.This edition features expanded coverage of DVD and motion graphics design, as well as addressing recent developments in High Definition video and 32-bit imaging. This indispensable reference includes:* real-world solutions for making graphics for video* introduction to third party plug-ins* automation and shortcut methods that cut production time* profiles of notable editors and motion graphic artists that include their favorite tips and tricksThe DVD offers a hands-on multimedia experience with hundreds of images to work on, tutorials to complete and 2 1⁄2 hours of video training to watch.
Quelle: Photoshop for Video – Richard Harrington – Google Books
Weißt Du nicht, wie Du die Datei dpx öffnen sollst? Die Liste der Programme zur Öffnung der Dateiendung dpx und andere hilfreiche Informationen zur Konvertierung und Bearbeitung der Dateien mit der Dateiendung dpx.
Eine User-Story ist eine in Alltagssprache formulierte Software-Anforderung. Sie ist bewusst kurz gehalten und umfasst in der Regel nicht mehr als zwei Sätze.
Quelle: User-Story – Wikiwand
Agile management, or agile process management, or simply agile refers to an iterative, incremental method of managing the design and build activities of engineering, information technology and other business areas that aim to provide new product or service development in a highly flexible and interactive manner; an example is its application in Scrum, an original form of agile software development.[1] It requires capable individuals from the relevant business, openness to consistent customer input, and management openness to non-hierarchical forms of leadership.[citation needed] Agile can in fact be viewed as a broadening and generalization of the principles of the earlier successful array of Scrum concepts and techniques to more diverse business activities. Agile also traces its evolution to a „consensus event“, the publication of the „Agile manifesto“, and it has conceptual links to lean techniques, kaizen ?), and the Six Sigma area of business ideas.[1] The Agile Manifesto, is centered on four values: communication with parties is more important than standard procedures and tools, focus on delivering a working application and less focus on providing thorough documentation, collaborate more with clients, and last be open to changes instead of freezing the scope of the work.[2]
Quelle: Agile management – Wikiwand
Agiles Projektmanagement – Was ist das? Agiles Projektmanagement bezeichnet ein Vorgehen mit geringer Planungstiefe bei der Software-Entwicklung wie z.B. bei Scrum oder Extreme Programming
Quelle: Agiles Projektmanagement, Definition im Projektmanagement-Glossar des Projekt Magazins

 Si signe de ponctuation à la fin du titre / tagline => pas de deux points.

-Shortcode nicht mehr geparsed.
.home div.format-image{line-height:0!important}
Es gibt zwei Arten, mit Textverarbeitungen Texte zu schreiben. Eine ist zumindest für die redaktionelle Weiterverarbeitung höchstgradig ungeeignet, da sie vermeidbare redaktionelle Meharbeit verursacht. Die beiden Formatierungen sind
Meist bekommt man Textdokumente, die „optisch formatiert“ sind, das heißt, es kommen zum Einsatz:
Den Artikel zum Reinkommen schreibt (einmal mehr) Ellen vom Elmastudio:
www.elmastudio.de/wordpress/wordpress-3-1-artikel-…
Hier listet der WordPress-Codex die Grundlagen von offizieller Seite:
Natürlich versuche ich, was viele versuchen: Menüs und Widgets einer WordPress-Installation samt Einstellungen unabhängig vom Theme – und, wichtig, von Themewechseln – zu speichern. Und natürlich gelingt es noch nicht. Hier die ersten Rechercheergebnisse rund um Menüs. Sehr allgemeines Zeug, nichts zielführendes:

 Der CSS-Editor Topstyle 4 bietet nativen Import von Server-Settings nur für aus Topstyle 3 exportierte Settings an. Wenn man die Settings aus einer Topstyle-4-Installation transferieren will führt kein Weg an der Registry vorbei, aber keine Angst, es tut nicht weh:
Das war’s dann auch schon. Der Tipp kommt vom offiziellen Topstyle-Support via hier.
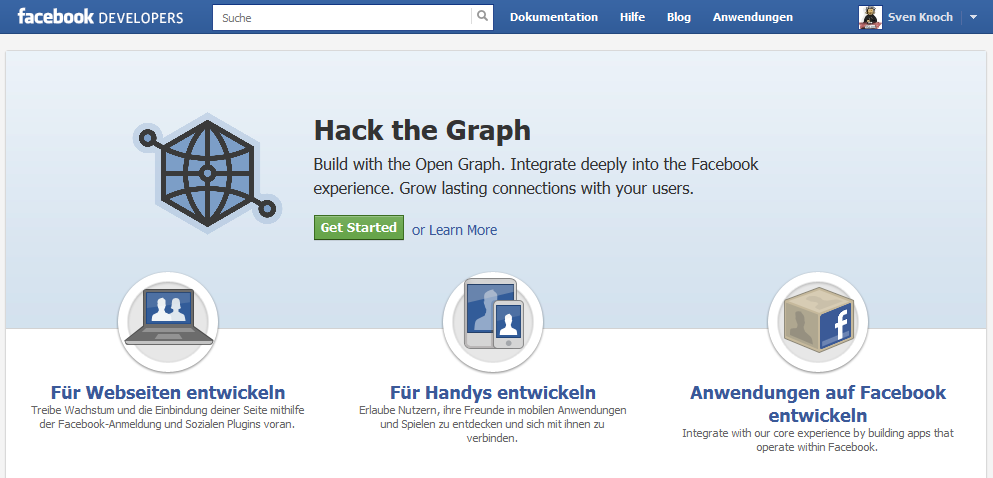
Für alles, was außerhalb von und nach Facebook geht, braucht man jeweils eine Anwendung („App“). Das fängt mit „Like“-Buttons an. Wann immer man eine App anlegen will, geht es (nachdem man sich eingeloggt hat) über dieses Portal los:


Will man einen eigenen Windows-Bootscreen haben, so ist das auch ohne Plugins händisch möglich. Ist das Betriebssystem Windows 7 geht es so (wichtig: man muss sich unter dem Administroren-Account einloggen):
Fertig.
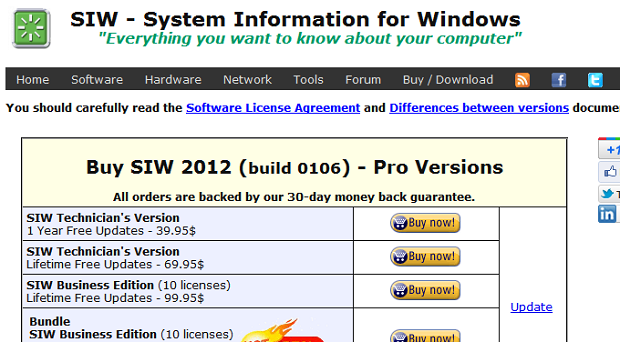
„Everything you want to know about your computer“ sagen sie – und es stimmt. Freeware.

Apples Musiksoftware iTunes gehört auf vielen Rechnern bereits zur Standardausstattung. Erst recht, wenn Musik vom und zum iPod übertragen werden soll. Doch iTunes ist mehr: Mit der praktischen Software können Sie Ihre gesamte Musiksammlung verwalten und beispielsweise für Partys automatisch für abwechslungsreiche Musik sorgen. Der Auto-DJ stellt etwa nach Ihren Wünschen das passende Musikprogramm zusammen. Um noch schneller und effektiver mit Apple iTunes arbeiten zu können, finden Sie hier eine Übersicht der wichtigsten und am häufigsten benutzten Tastenkombinationen – auch Tastenkürzel oder Shortcuts genannt. Die folgende Tabelle zeigt alle Tastenkombinationen jeweils getrennt für die Mac- und Windows-Version von Apple iTunes.
| Funktion | Tastenkombination für iTunes Mac | Tastenkombination für iTunes Windows |
| Wiedergabe stoppen/starten | [Leertaste/Space] | [Leertaste/Space] |
| Vorwärts/Rückwärts (Titel) | [Apfel]+[Alt]+[Pfeil rechts]
[Apfel]+[Alt]+[Pfeil links] |
[Strg]+[Alt]+[Pfeil rechts]
[Strg]+[Alt]+[Pfeil links] |
| Nächsten/vorherigen Titel wiedergeben | [Apfel]+[Pfeil rechts]
[Apfel]+[Pfeil links] |
[Strg]+[Pfeil rechts]
|
| Nächsten/vorherigen Titel auswählen | [Pfeil oben] [Pfeil unten] | [Pfeil oben] [Pfeil unten] |
| Lauter/leiser | [Apfel]+[Pfeil oben] [Apfel]+ [Pfeil unten] | [Strg]+[Pfeil oben] [Strg]+[Pfeil unten] |
| Ton abschalten | [Apfel]+[Alt]+[Pfeil unten] | [Strg]+[Alt]+[Pfeil unten] |
| Video in halber Größe | [Apfel]+[0] | [Strg]+[0] |
| Video in Originalgröße | [Apfel]+[1] | [Strg]+[1] |
| Video in doppelter Größe | [Apfel]+[2] | [Strg]+[2] |
| Video an Bildschirmgröße anpassen | [Apfel]+[3] | [Strg]+[3] |
| Video in Vollbildgröße | [Apfel]+[F] | [Strg]+[F] |
| Mini-Player ein-/ausblenden | [Apfel]+[Ctrl]+[Z] | [Strg]+[Shift]+[M] |
| Funktion | Tastenkombination für iTunes Mac | Tastenkombination für iTunes Windows |
| Neue Wiedergabeliste anlegen | [Apfel]+[N] | [Strg]+[N] |
| Neue intelligente Wiedergabeliste | [Apfel]+[Alt]+[N] | [Strg]+[Alt]+[N] |
| Neuen Ordner anlegen | [Apfel]+[Alt]+[Shift]+[N] | [Strg]+[Alt]+[Shift]+[N] |
| Wiedergabeliste löschen | [Backspace] | [Entf] |
| Wiedergabeliste und Titel löschen | [Alt]+[Backspace] | [Shit]+[Entf] |
| Dateispeicherort zeigen | [Apfel]+[R] | [Strg]+[R] |
| Aktuell laufenden Titel zeigen | [Apfel]+[L] | [Strg]+[L] |
| Alle Titel markieren | [Apfel]+[A] | [Strg]+[A] |
| Auswahl aufheben | [Apfel]+[Shift]+[R] | [Strg]+[Shift]+[R] |
| Suchfeld auswählen | [Apfel]+[Alt]+[F] | [Strg]+[Alt]+[R] |
| Einstellungen öffnen | [Apfel]+[,] | [Strg]+[,] |
| Informationsfenster öffnen | [Apfel]+[I] | [Strg]+[I] |
| Im Informationsfenster zum nächsten/vorherigen Eintrag wechseln | [Apfel]+[N] [Apfel]+[P] | [Alt]+[Z] [Alt]+[W] |
| Funktion | Tastenkombination füriTunes Mac | Tastenkombination für iTunesWindows |
| CD auswerfen | [Apfel]+[E] | [Strg]+[E] |
| Übersicht ein-/ausblenden | [Apfel]+[B] | [Strg]+[B] |
| Coverfeld ein-/ausblenden | [Apfel]+[G] | [Strg]+[G] |
| Darstellungsoptionen konfigurieren | [Apfel]+[J] | [Strg]+[J] |
| Visuelle Effekte einblenden | [Apfel]+[T] | [Strg]+[T] |
Navigation im Microsoft Internet Explorer
Und natürlich gibt es noch die Option, seine eigenen Tastenkombinationen für das Starten von Programmen festzulegen: Rechtsklick auf die Verknüpfung–>Eigenschaften–>In dem Feld „Tastenkombination“ z.B. [STRG]+[ALT]+[A] drücken um diese Tastenkombination festzulegen–>nurnoch OK klicken um zu speichern.
(Quelle: Elmastudio) In dieser kleinen Video-Anleitung erkläre ich, wie du dir in nur ein paar Schritten ein eigenes WordPress Child-Theme erstellen kannst. Ein Child-Theme ist besonders praktisch, um individuelle Anpassungen an einem Theme sicher vorzunehmen. Denn in einem Child-Theme sind deine Anpassungen im Stylesheet und den Template-Dateien auch bei einem späteren Update des Parent-Themes gespeichert. Und damit du auch gleich mit der Erstellung deines eigenen Child-Themes loslegen kannst, habe ich im Anschluss zum Video noch ein Beispiel Child-Theme zum downloaden vorbereitet.
Ein WordPress Child-Theme erstellen from Elmastudio on Vimeo.
Als Grundlage für die Erstellung deines eigenen Child Themes, kannst du dir diesen Beispiel Child-Theme Ordner herunterladen.
/*
Theme Name: DeinChildTheme
Description: Beschreibungstext...
Author: Dein Name
Author URI: http://www.deinedomain.de/
Template: parentthemeordner
Version: 1.0
Tags:
*/